AI Article Assistant
Ask questions, summarize, or extract key takeaways from this article.
How to Install GST Maker on Your Computer and Mobile — Step by Step Guide
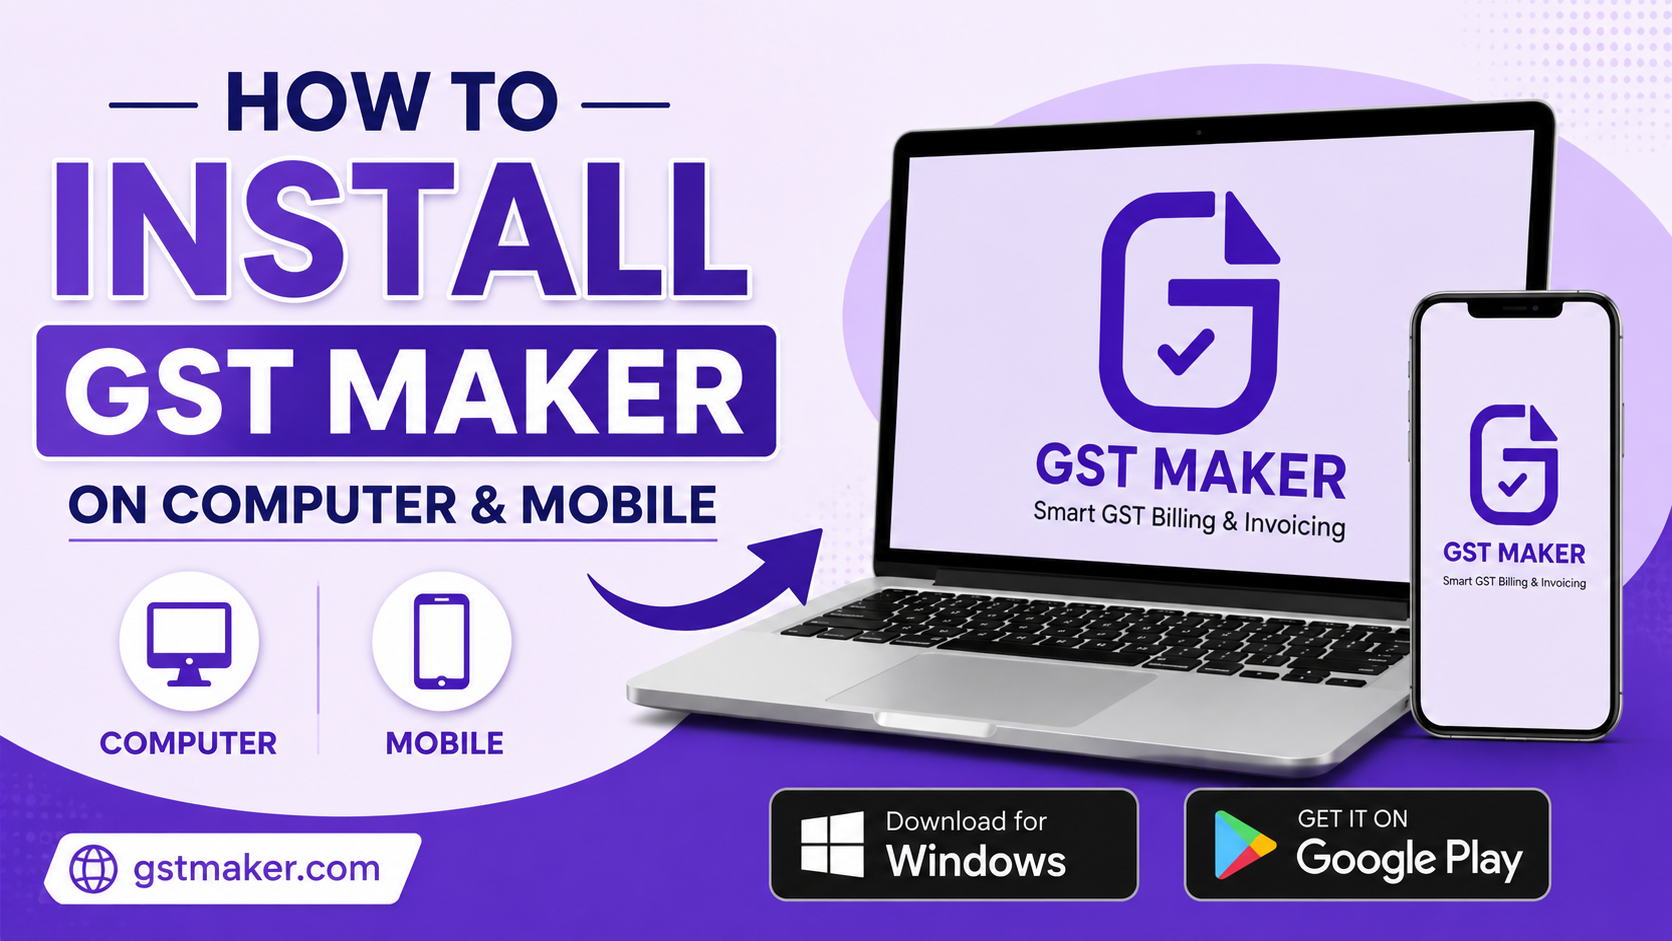
If you've heard about GST Maker and want to actually start using it, this one's for you.
Here's the good news upfront — there's nothing to install. No software to download, no setup file to run, no complicated steps. GST Maker runs directly in your browser, on any device, any operating system, anywhere you've got internet.
That said, plenty of people still ask "but how do I actually install it on my phone or laptop?" — so here's exactly how to set it up on a computer, Android phone, or iPhone, including how to add it to your home screen so it feels and behaves like a proper app.
What it actually is
GST Maker is a free, AI-powered GST billing tool that runs entirely in a web browser — the same way Gmail or Google Drive does. Nothing to install, ever.
Practically, that means it works on Windows, Mac, and Linux computers, on Android and iPhone without touching an app store, stays permanently up to date with zero manual updates, and keeps your data safely in the cloud, accessible from whichever device you happen to be on.
All you actually need is an internet connection and a browser.
Setting it up on a computer (Windows or Mac)
Open any browser — Chrome, Edge, Firefox, or Safari all work, though Chrome or Edge give the smoothest experience.
- Go to gstmaker.com
- Click Sign Up or Get Started
- Enter your name, email, and password, then click Create Account — no card required
- Check your inbox for the verification email and click the link
- Fill in your business profile — name, GSTIN if registered, address and state, logo (optional but worth doing), and bank details for payment reference — takes about 3-4 minutes, and it auto-fills every invoice after this
- Click New Invoice, pick the type, add a client and a service, and hit Generate
Your first invoice is ready — share the link or download it as a PDF.
Adding it to your desktop like a real app (optional)
If you're using this regularly, you can pin it to your desktop so it opens with one click, just like anything else installed — this is called a PWA, Progressive Web App.
On Chrome (Windows or Mac): go to gstmaker.com and log in, look for the small install icon in the address bar, click it, select Install. It'll now sit on your desktop and taskbar like any other app.
On Edge (Windows): log in, click the three-dot menu top right, go to Apps → Install this site as an app, click Install. It shows up in your Start Menu and taskbar.
Once installed this way, it opens in its own clean window, no browser tabs cluttering things up.
Setting it up on Android
No Play Store needed at all.
You can just open Chrome, go to gstmaker.com, log in, and start using it right there in the browser — everything works.
Or, for something that feels more like a native app: open Chrome, go to gstmaker.com and log in, tap the three-dot menu top right, tap Add to Home Screen, confirm with Add. The icon now sits on your home screen, and tapping it opens the whole thing full screen with no address bar in sight.
Setting it up on iPhone
Works through Safari.
Same deal — open Safari, go to gstmaker.com, log in, and use it directly, all features intact.
For the home screen version: open Safari specifically (this doesn't work in Chrome on iPhone), go to gstmaker.com and log in, tap the Share icon at the bottom of the screen, scroll down to Add to Home Screen, name it, tap Add. The icon appears on your home screen, and tapping it opens things full screen just like a real app.
The one-time setup once you're in
Regardless of device, there's a quick setup worth doing before your first invoice.
Business profile — under Settings → Business Profile, add your business or shop name, GSTIN, state, full address, a logo (PNG or JPG), and your bank account number, IFSC, and bank name. This shows up automatically on every invoice from here on — do it once, never type it again.
First client — under Clients → Add Client, add their business name, GSTIN if registered, state and address, and a contact person with phone number. Save it, and they're a dropdown selection on every invoice from now on.
Products or services — under Products/Services → Add Item, add the name, HSN code for goods or SAC code for services, standard price, and GST rate. Save it, and it's a one-click add going forward.
Once these three are set up, a new invoice takes under 60 seconds every time.
Creating your first invoice
Tap or click New Invoice, pick the document type — tax invoice, proforma, or quotation — select your client from the dropdown, add your saved item, and enter quantity if needed. From here, GST Maker detects the client's state, applies CGST+SGST or IGST accordingly, calculates the tax, and assigns the next invoice number automatically. Hit Generate, copy the share link, and send it on WhatsApp.
Done. Your first invoice is on your client's phone.
Common issues and quick fixes
It won't open on my phone — check your internet connection first, since this is a web app and needs one to load. Try refreshing or clearing your browser cache if it's still stuck.
I can't find Add to Home Screen on iPhone — make sure you're actually in Safari, not Chrome or anything else. That option only exists in Safari on iOS.
My logo isn't showing — go back to Settings → Business Profile and re-upload it. PNG or JPG only, and keep it under 2MB for best results.
I forgot my password — click Forgot Password on the login screen and enter your email for a reset link.
Can I use it on more than one device? Yes — log in with the same account on your laptop and your phone, and everything syncs automatically since it's all cloud-stored.
Does it work offline? No — it needs an internet connection to create and save invoices, though your data itself stays backed up and accessible whenever you're back online.
Quick reference by device
| Device | How to access | Add to home screen? |
|---|---|---|
| Windows PC | Chrome or Edge | Yes, via browser install option |
| Mac | Chrome or Safari | Yes, via Chrome install option |
| Android phone | Chrome | Yes, Add to Home Screen |
| iPhone | Safari | Yes, via Share → Add to Home Screen |
| iPad | Safari | Yes, same as iPhone |
| Any tablet | Any browser | Yes |
Questions people usually ask
Is it on the Play Store or App Store? No — it's a Progressive Web App, so it runs in your browser without being listed anywhere. Adding it to your home screen gives you the same app-like experience without an app store involved.
Is it free on mobile too? Yes, same free plan across every device, no separate mobile pricing.
Do invoices sync between phone and computer? Yes, since everything lives in the cloud — create something on your phone and it's there the moment you log in on your laptop.
Do I need a separate account for mobile? No, one account, same email and password everywhere.
How do updates work? Automatically — since it's browser-based, you're always on the latest version without doing anything.
Can I use it without internet? No, it needs a connection to create, save, or access invoices.
You're ready to start billing
That's everything needed to get this running on a computer, Android phone, or iPhone — no installation headaches, no app store downloads, no setup fees.
👉 Get started free at gstmaker.com
No credit card. Works on every device. Your first invoice is closer than you think.