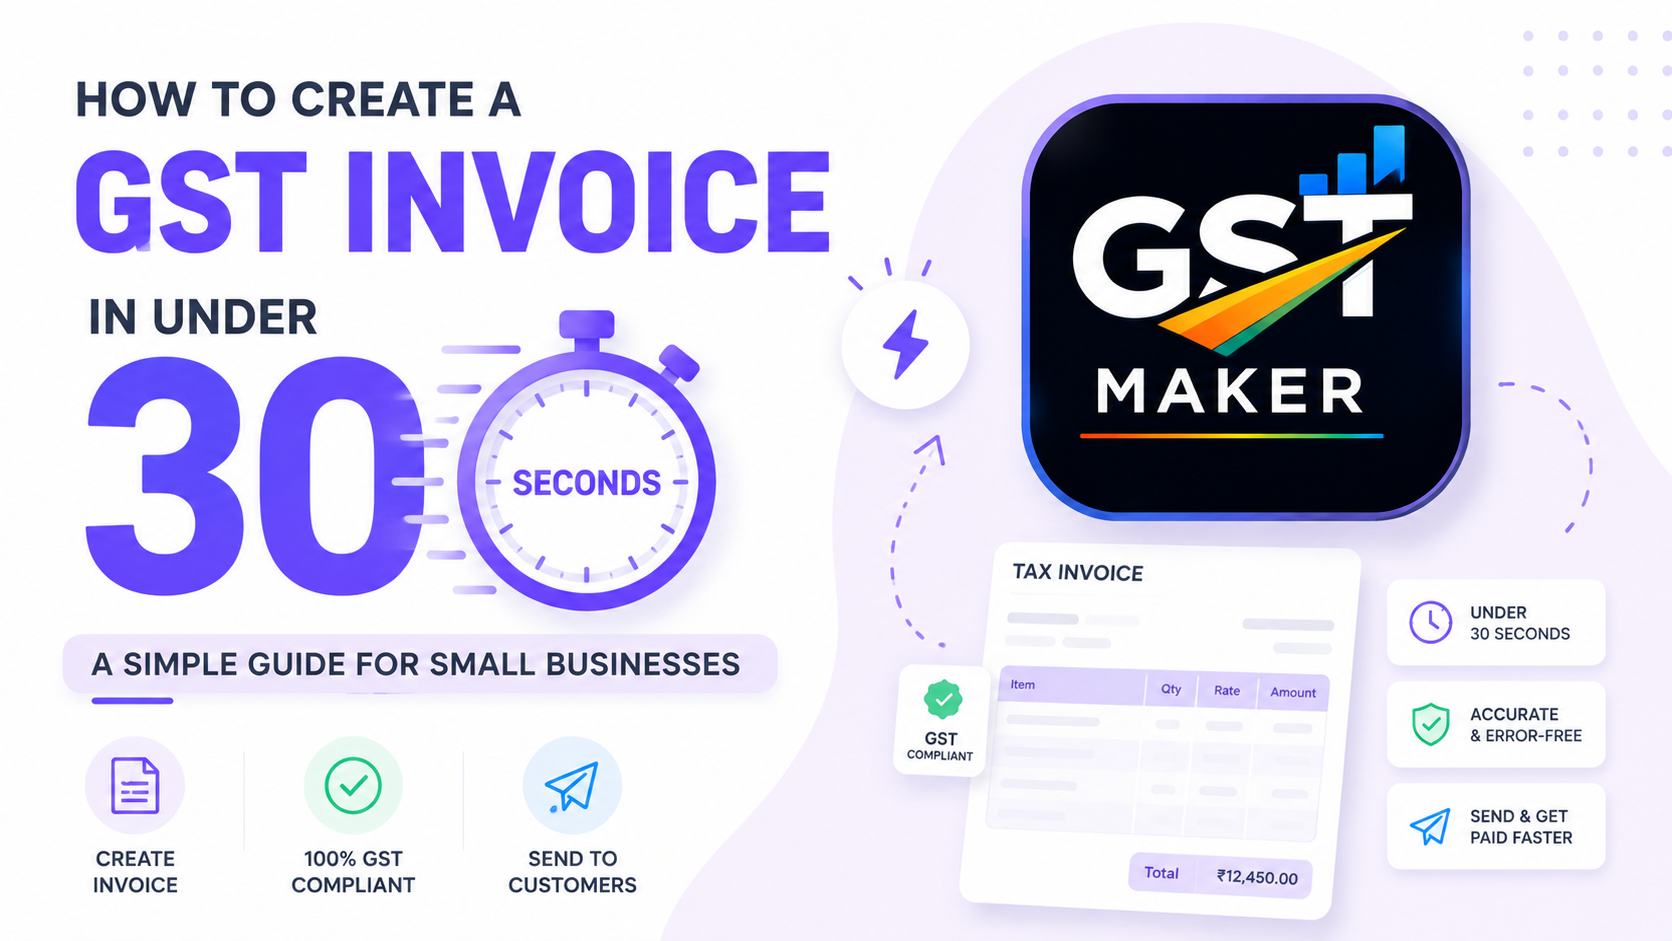
How to Create a GST Invoice in Under 30 Seconds — A Simple Guide for Small Businesses
If you run a small business in India, creating a GST invoice is something you probably do almost daily. Freelancer, shop owner, contractor, consultant — doesn't matter. Every time you finish a job or make a sale, a proper GST bill has to go out to the customer.
And for a lot of people, this whole thing feels harder than it should. What's CGST again? What about IGST? Which HSN code am I even supposed to use? Do I need my GSTIN on there? Is there a "correct" format?
If any of that sounds familiar, you're not the only one confused. This guide is for exactly that.
Let's go through it in plain language — you don't need an accounting degree for this.
What is a GST invoice, actually?
Strip away the jargon and a GST invoice is just a bill. It tells your customer what you sold, what it cost, and how much GST got added on top.
But it's also more than a receipt. It's the official proof that a transaction happened. The government uses it to track tax. Your customer uses it to claim their input credit. And you'll need it when you file your own returns.
So yes, it's worth getting right the first time.
What actually needs to be on it
GST rules are specific about what counts as a valid tax invoice. Here's what has to be there:
- Your business name and GSTIN
- A unique invoice number, plus the date
- Customer's name, address, and GSTIN (if they're a registered business)
- What you sold — a clear description
- HSN or SAC code
- Quantity and price
- GST rate and amount (CGST + SGST for same state, IGST for different state)
- Total payable
That's a fair number of fields to fill correctly, every single time. Miss one, or get one wrong, and technically the invoice isn't valid. This is exactly the kind of thing that's easy to mess up when you're doing it manually at 11pm after a long day.
CGST vs SGST vs IGST — the part that trips everyone up
Here's the simple version.
Selling to someone in your own state? GST splits into two — CGST and SGST — usually equal halves. So an 18% rate becomes 9% CGST and 9% SGST.
Selling to someone in a different state? No split. The whole 18% goes as IGST.
That's genuinely all there is to it. If you're on GST Maker, you don't even need to remember this — the tool checks your customer's location and applies the right split automatically. One less thing to think about.
What's an HSN code, and do you really need to know it?
HSN (Harmonised System of Nomenclature) is just a classification code for whatever you're selling. Every product falls under one. Services have their own version called SAC (Service Accounting Code).
These codes tell the system what category you're in and what rate applies. If you've never known your HSN code and have been guessing or Googling it every time — GST Maker has a built-in lookup for this, so you're not doing that anymore.
Creating an invoice on GST Maker — the actual steps
1. Set up your business profile once. Name, GSTIN, address, bank details, logo — enter it the first time, and it auto-fills on every invoice after. You'll never retype your own details again.
2. Add your customer. Name, GSTIN if applicable, address. Save them once, and next time it's just a click to select them.
3. Add what you're selling. Product or service name, HSN/SAC code, price, GST rate. Save these too — repeat items become a one-click add.
4. Hit generate. CGST, SGST, or IGST gets calculated automatically based on where your customer is. You get a proper PDF invoice in seconds.
5. Share it. Download the PDF, or just copy the public share link and send it over WhatsApp, email, whatever. Your customer opens it on their phone, no login needed.
Once your customers and products are saved, the whole process takes under a minute.
Why manual invoicing keeps causing problems
I still see a lot of business owners doing this in Excel, in Word, or literally by hand — sometimes photographing a handwritten bill and calling it a day. And it causes the same issues, again and again:
- Wrong GST math that comes back to bite you during return filing
- Invoices that look inconsistent and, honestly, a bit unprofessional
- No proper record, so finding an old invoice becomes a whole search operation
- Time spent formatting a bill instead of actually running the business
None of this is really about the business owner doing something wrong — it's just what happens when there's no system.
One habit that saves real time
Save your customer and product details the first time you bill them. That's it. That single habit means you're never typing the same information twice — just picking from a dropdown and moving on. Small thing, but it adds up to hours saved every month.
Bottom line
GST invoicing isn't actually complicated once you know the basics — what has to be on the invoice, how the CGST/SGST/IGST split works, and which code applies to you. The rest is just repetition.
And with something like GST Maker doing the calculation and formatting for you, you get to spend less time on billing and more time on the actual business.
Haven't tried it yet? Go to gstmaker.com and create your first invoice — it's free, no credit card, no complicated setup. Just sign up and start billing.